
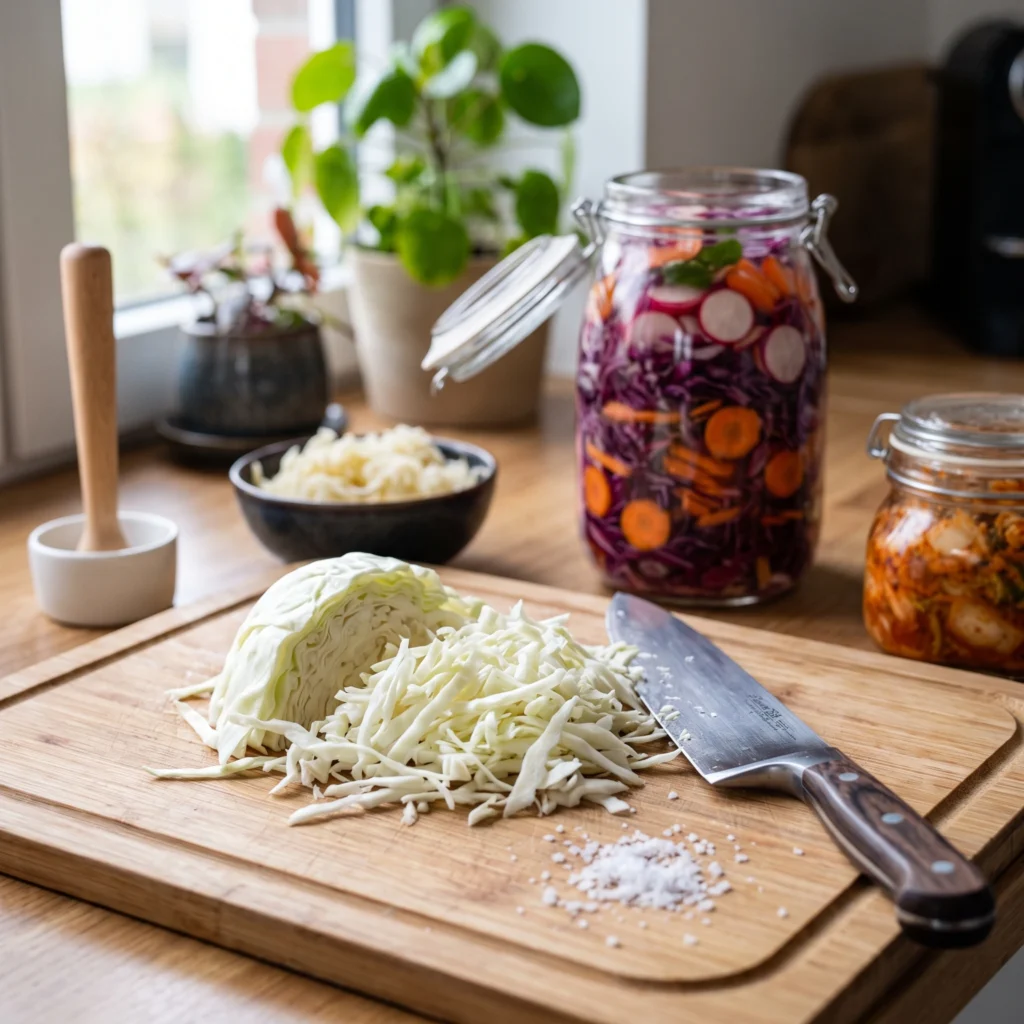
Fermented foods are currently experiencing a renaissance – and for good reason. These traditional preparation methods not only deliver delicious flavors but also valuable probiotic bacteria that can support your gut health. The best part: you can easily make fermented foods at home and have complete control over what goes into your food. In this post, you’ll learn everything you need to know about fermentation – from the health benefits to the equipment needed, right through to practical instructions for your first fermentation projects.
What is fermentation and how does it work?
Fermentation is a natural process in which microorganisms such as bacteria, yeasts, or fungi break down the carbohydrates in foods. This produces lactic acid, alcohol, or other metabolic products that not only give foods their characteristic flavor notes but also make them last longer. Lactic acid fermentation is the most common form of fermentation for vegetables and produces those probiotic bacteria that can potentially be valuable for your health.
The fermentation process lowers the pH value of foods, creating an acidic environment in which harmful bacteria cannot survive. At the same time, the beneficial lactic acid bacteria multiply and form a natural preservation. This process was already used by our ancestors thousands of years ago, long before refrigerators existed.
The health benefits of fermented foods
Supporting gut health
Your gut houses trillions of microorganisms that together form your microbiome. A healthy microbiome is important for your digestion, your immune system, and can also influence your mental health. Fermented foods provide live probiotic bacteria that can positively influence your microbiome. They help maintain balance in the gut and can alleviate symptoms such as bloating, constipation, or diarrhea in some people.
Improved nutrient availability
Through fermentation, nutrients are broken down and made more available to your body. The bacteria break down complex molecules during the fermentation process and simultaneously produce additional vitamins, particularly B vitamins and vitamin K2. Additionally, anti-nutritive substances such as phytic acid are reduced, which can normally hinder the absorption of minerals such as iron and zinc.
Supporting the immune system
Since a large part of your immune cells is located in the gut, the health of your digestive system has a direct impact on your immune defense. The probiotic bacteria from fermented foods can contribute to regulating your immune system and help modulate inflammatory processes.
The basic equipment for fermentation at home
You don’t need expensive specialized equipment to start fermenting. The basic equipment is surprisingly simple and inexpensive:
Glass jars: Use clean mason jars or special fermentation jars with lids. Glass is ideal because it doesn’t react with acids and allows you to observe the fermentation process. The size depends on the quantity you want to ferment – jars between 500 ml and 1 liter are suitable for beginners.
Weights: To keep your fermentation goods under the liquid, you need weights. You can buy special fermentation weights made of glass or use a freezer bag filled with water as a makeshift solution.
Salt: Use high-quality sea salt or rock salt without additives such as iodine or anti-caking agents, as these can interfere with fermentation. The salt draws water from the vegetables and creates the right environment for lactic acid bacteria.
Clean working materials: You’ll need a sharp knife, a cutting board, bowls, and possibly a pounder or kraut pounder to crush the vegetables.
Making sauerkraut yourself – your first fermentation project
Sauerkraut is the perfect introduction to the world of fermentation. It’s easy to make, requires only a few ingredients, and provides valuable probiotics.
Ingredients and preparation
For about 1 liter of sauerkraut you need: 1 kg fresh white cabbage or pointed cabbage and 15-20 g salt (about 1.5-2% of the cabbage weight). Optionally, you can add spices such as caraway, juniper berries, or bay leaves.
Remove the outer leaves of the cabbage and cut it into fine strips. Put the cabbage strips in a large bowl and sprinkle the salt over them. Now massage the cabbage vigorously for about 5-10 minutes. This breaks down the cell structure and the cabbage releases liquid – this brine is exactly what you need for fermentation.
The fermentation process
Pack the massaged cabbage tightly into your clean jar and press it down repeatedly so that the brine completely covers the cabbage. Leave about 2-3 cm of space to the rim. Weigh down the cabbage with a weight so it stays under the liquid. Close the jar loosely or use a special fermentation lid that allows gases to escape.
Place the jar at room temperature (18-22°C) in a location without direct sunlight. In the first few days you’ll observe bubble formation – this is completely normal and indicates that fermentation is taking place. After 3-5 days you can start tasting. The longer you ferment, the more sour the sauerkraut becomes. Most people prefer a fermentation time of 1-4 weeks.
Kimchi – the Korean variation
Kimchi is the spicy Korean variation of fermented vegetables and offers a flavorful alternative to classic sauerkraut. The main ingredient is usually Chinese cabbage, combined with a spicy paste made from chili, ginger, garlic, and fish sauce or a vegan alternative.
For a simple kimchi, you halve or quarter a Chinese cabbage, salt it generously, and let it sit for 2-4 hours until it becomes soft. Then you rinse the cabbage thoroughly and mix it with a paste made from Korean chili flake powder (gochugaru), grated ginger, garlic, a little sugar, and optionally fish sauce. You can also add grated carrots, radish, and spring onions. Pack everything tightly into a jar and ferment at room temperature for 3-7 days before placing it in the refrigerator.
Fermented cucumbers and other vegetables
Almost any vegetable can be fermented. Cucumbers, carrots, radishes, beets, or green beans are excellent choices. The basic principle is always the same: you create a salt brine, add your vegetables to it, and let it ferment.
For fermented cucumbers, prepare a 2-5% salt brine (20-50 g salt per 1 liter of water). The cucumbers go into a jar with spices such as dill, garlic, peppercorns, and optionally horseradish leaves or grape leaves (which help keep the cucumbers crunchy) and are covered with the brine. After 3-7 days at room temperature, you have crunchy, probiotic pickles.
Kombucha – the fermented tea beverage
Kombucha is a fermented beverage made from sweetened tea and offers a fizzy alternative to fermented vegetables. For production, you need a kombucha SCOBY (Symbiotic Culture of Bacteria and Yeast) – a jelly-like culture that you can get from other kombucha brewers or buy online.
Prepare 1 liter of sweetened black or green tea (about 5-8 g tea, 70-100 g sugar), let it cool completely, and add the SCOBY along with about 100 ml of starter liquid. Cover the container with a breathable cloth (not an airtight lid!) and let it ferment for 7-14 days at room temperature. The SCOBY converts the sugar into organic acids and various metabolic products.
Kefir – making probiotic milk yourself
Milk kefir is a fermented milk drink that’s full of probiotics. You need kefir grains – living cultures of bacteria and yeasts. You add these to milk (about 1-2 tablespoons of grains to 500 ml milk), cover the container loosely, and let it sit for 12-48 hours at room temperature, depending on how sour you like it. The grains ferment the milk, creating a slightly sour, slightly creamy beverage. Then you strain out the grains and can reuse them for the next batch.
There’s also water kefir, a vegan alternative made with water kefir crystals, water, sugar, and dried fruits, which produces a refreshing, slightly sweet drink.
Important safety guidelines
Fermentation is very safe when done correctly, but you should follow some basic rules. Always use clean materials and containers to avoid unwanted bacteria. Make sure your fermentation goods are always covered by liquid, as air contact can lead to mold formation.
If a white, thin layer forms on the surface, it’s usually kahm yeast – not appetizing, but harmless. You can simply skim it off. Real mold (green, black, pink, or fuzzy), however, means you should dispose of the entire batch.
Trust your senses: fermented foods should smell pleasantly sour. A rotten, very unpleasant, or musty smell is a warning sign. When in doubt: it’s better to throw it away.
Storage and shelf life
Once your fermented foods have reached the desired taste, you can place them in the refrigerator. The cool temperature significantly slows fermentation but doesn’t stop it completely. In the refrigerator, most fermented vegetables keep for several months, often up to half a year or longer, as long as they remain covered by brine.
Always use clean utensils when removing something from the jar to avoid contamination. The brine should continue to cover the vegetables, as anything exposed to air can spoil.
Common beginner mistakes and how to avoid them
Many beginners use iodized salt or salt with anti-caking agents, which can inhibit fermentation. Make sure to use pure sea or rock salt without additives. Another common mistake is too little patience – give fermentation time, at least 3-5 days, preferably longer.
Some beginners fill their jars too full, causing the brine to overflow during fermentation. Always leave at least 2-3 cm of space to the rim. Temperature also plays a role: if it’s too cold (below 15°C), it ferments very slowly; if it’s too warm (above 25°C), unwanted bacteria can gain the upper hand. The ideal temperature range is 18-22°C.
How much fermented food should you eat?
If you’re new to fermented foods, start slowly. Your digestive system may need to adjust to the probiotic bacteria and increased fiber intake. Start with 1-2 tablespoons per day and gradually increase the amount. Many people tolerate a small daily portion of about 50-100 g well.
Integrate fermented foods regularly into your diet to achieve possible health effects. A bit of sauerkraut with your salad, kimchi with your bowl, or a glass of kefir for breakfast can already make a difference. Note, however, that fermented foods are not a substitute for an overall balanced diet.
Conclusion: Your path to better gut health
Making fermented foods at home is easier than you might think and offers potentially numerous health benefits. With minimal effort and few ingredients, you can produce probiotic foods that support your gut health, improve your nutrient availability, and can promote your immune system.
Starting with sauerkraut or fermented cucumbers is very easy and gives you a feel for the fermentation process. From there, you can experiment and try different vegetables, spice combinations, and fermentation techniques. The world of fermentation is diverse and offers endless possibilities for culinary discoveries.
Remember that fermentation is a traditional technique that has been practiced for thousands of years – so you can’t go too wrong as long as you follow basic hygiene rules. Don’t be afraid to experiment and trust the natural process. So grab a jar, some vegetables and salt – and start your journey into the fascinating world of fermentation today!
Dieser Ratgeber dient ausschließlich zu Informationszwecken und ersetzt keine medizinische Beratung oder Diagnose. Bei anhaltenden Beschwerden konsultieren Sie bitte einen Arzt. Nahrungsergänzungsmittel und Heilpflanzen sollten nicht ohne Rücksprache mit einem Therapeuten eingenommen werden.